Testing beehold tubes and adapter in Austria before sending it to participants

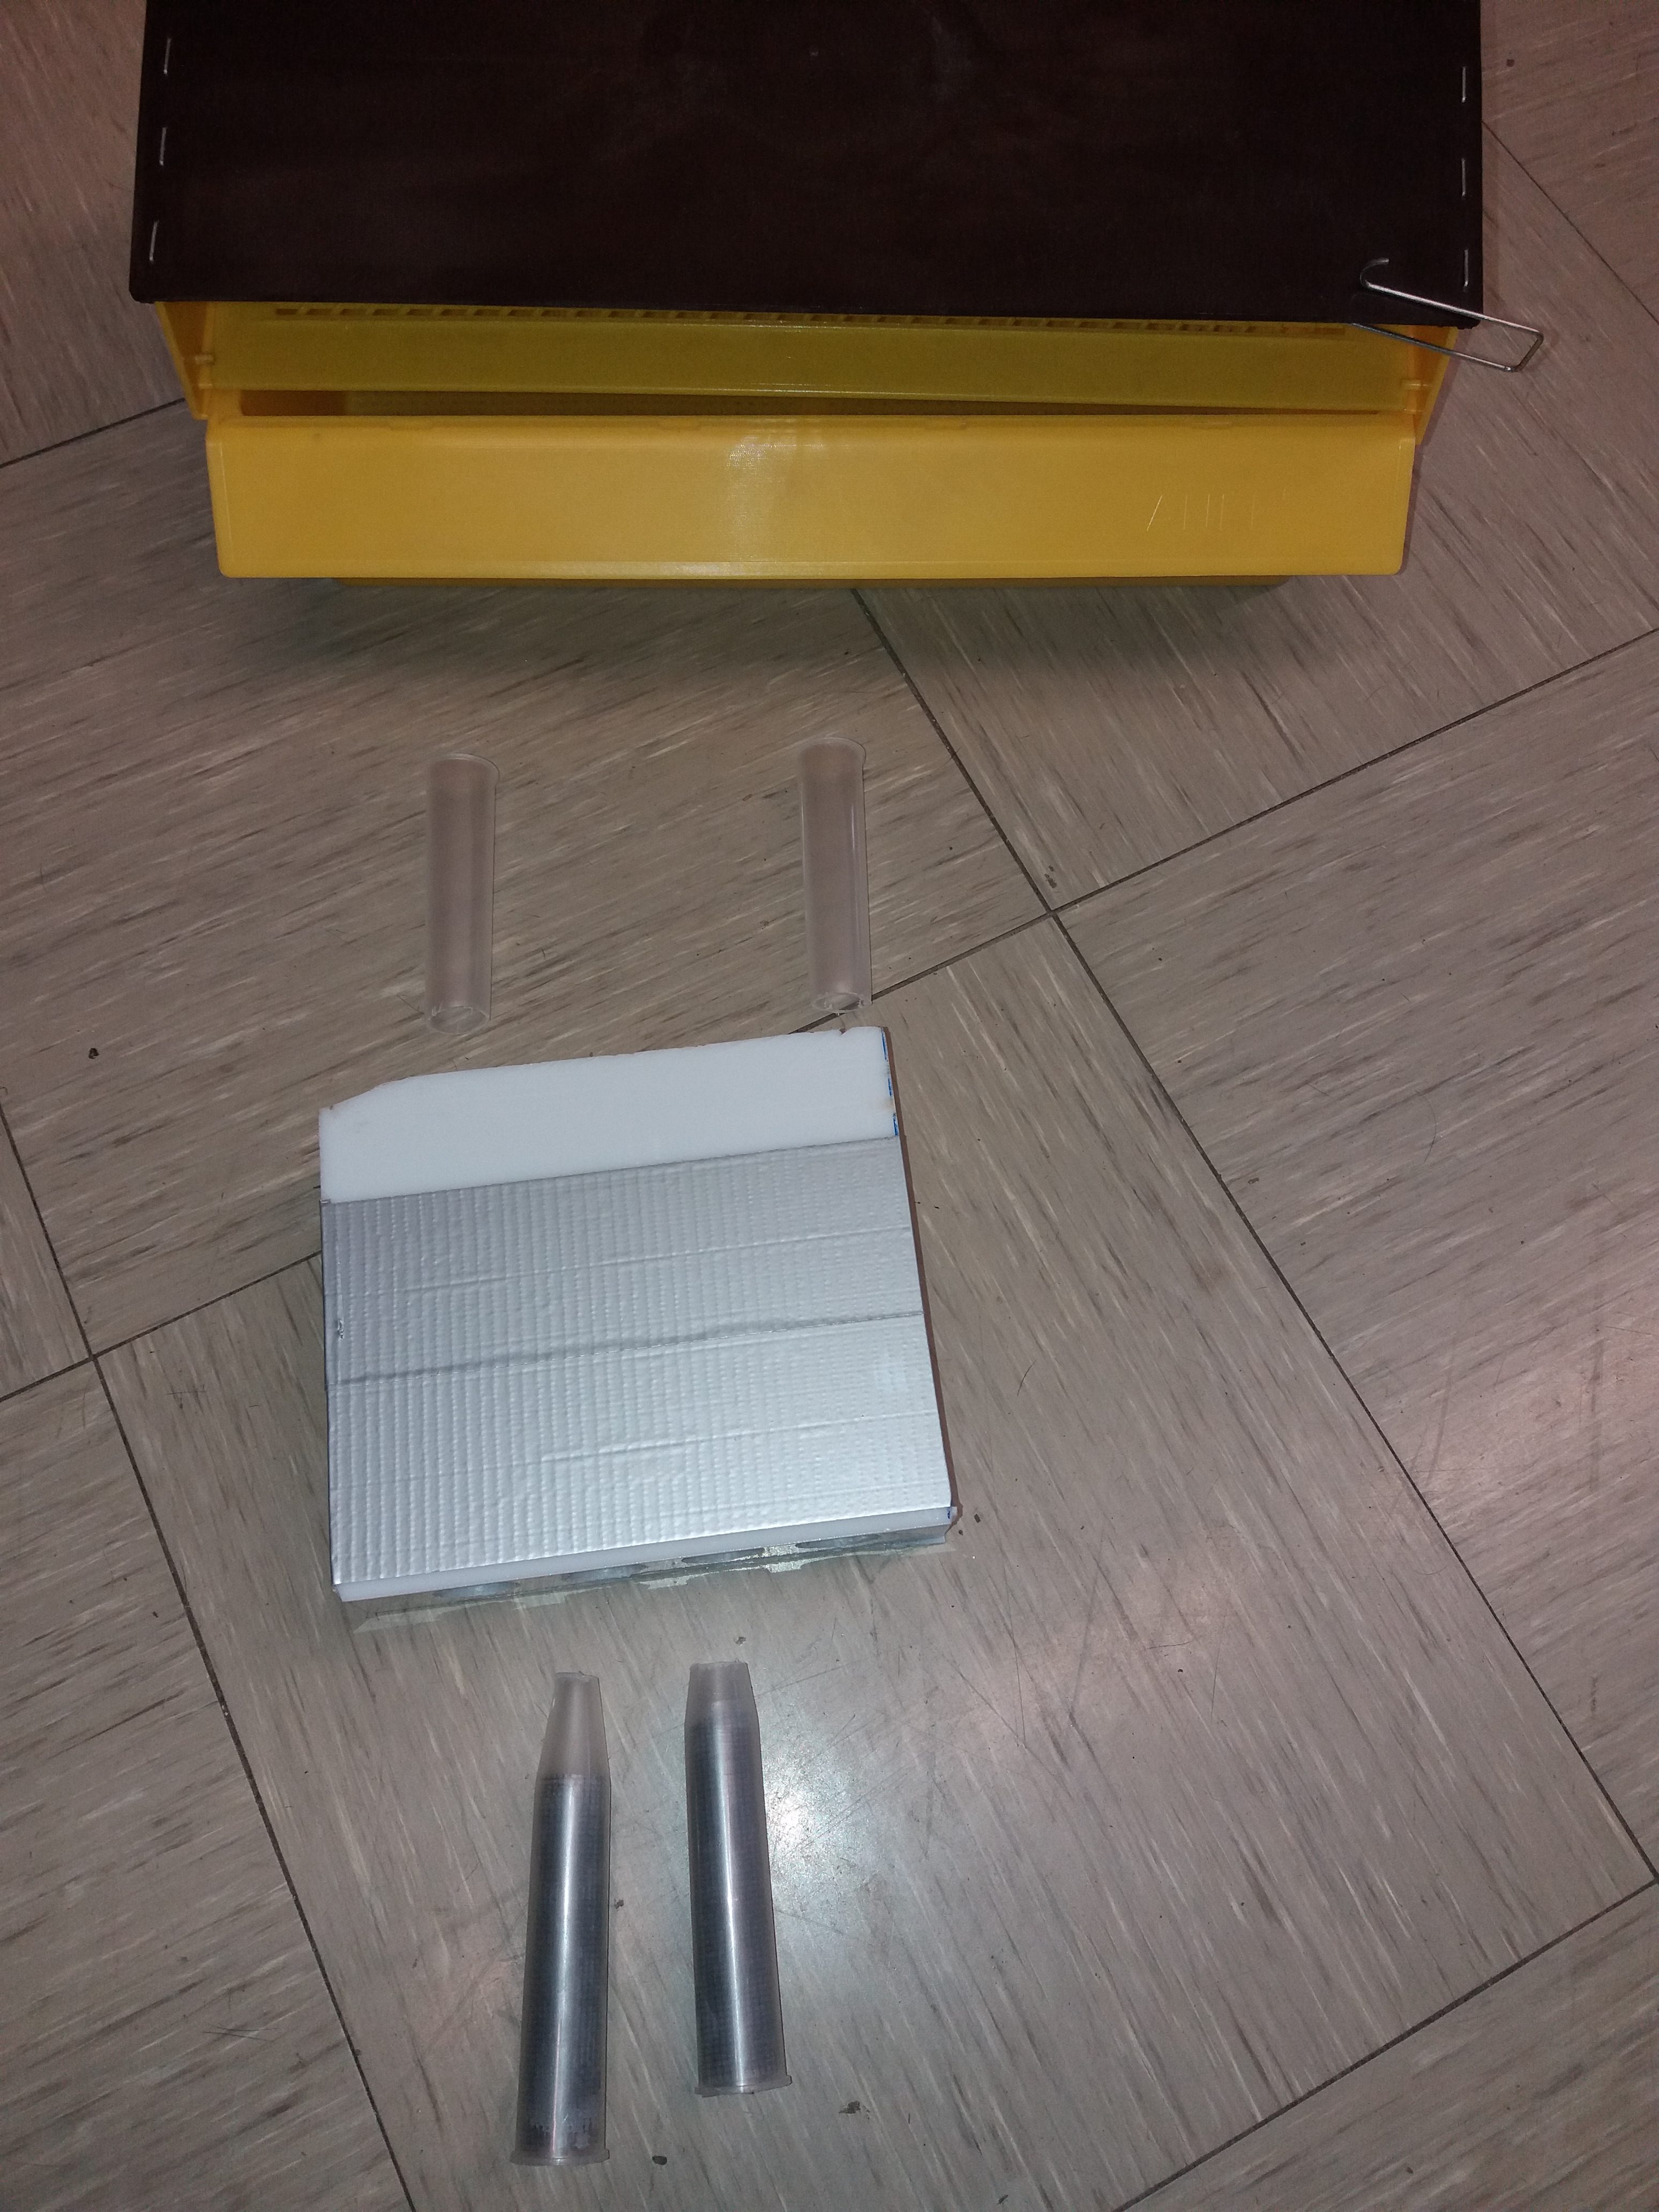
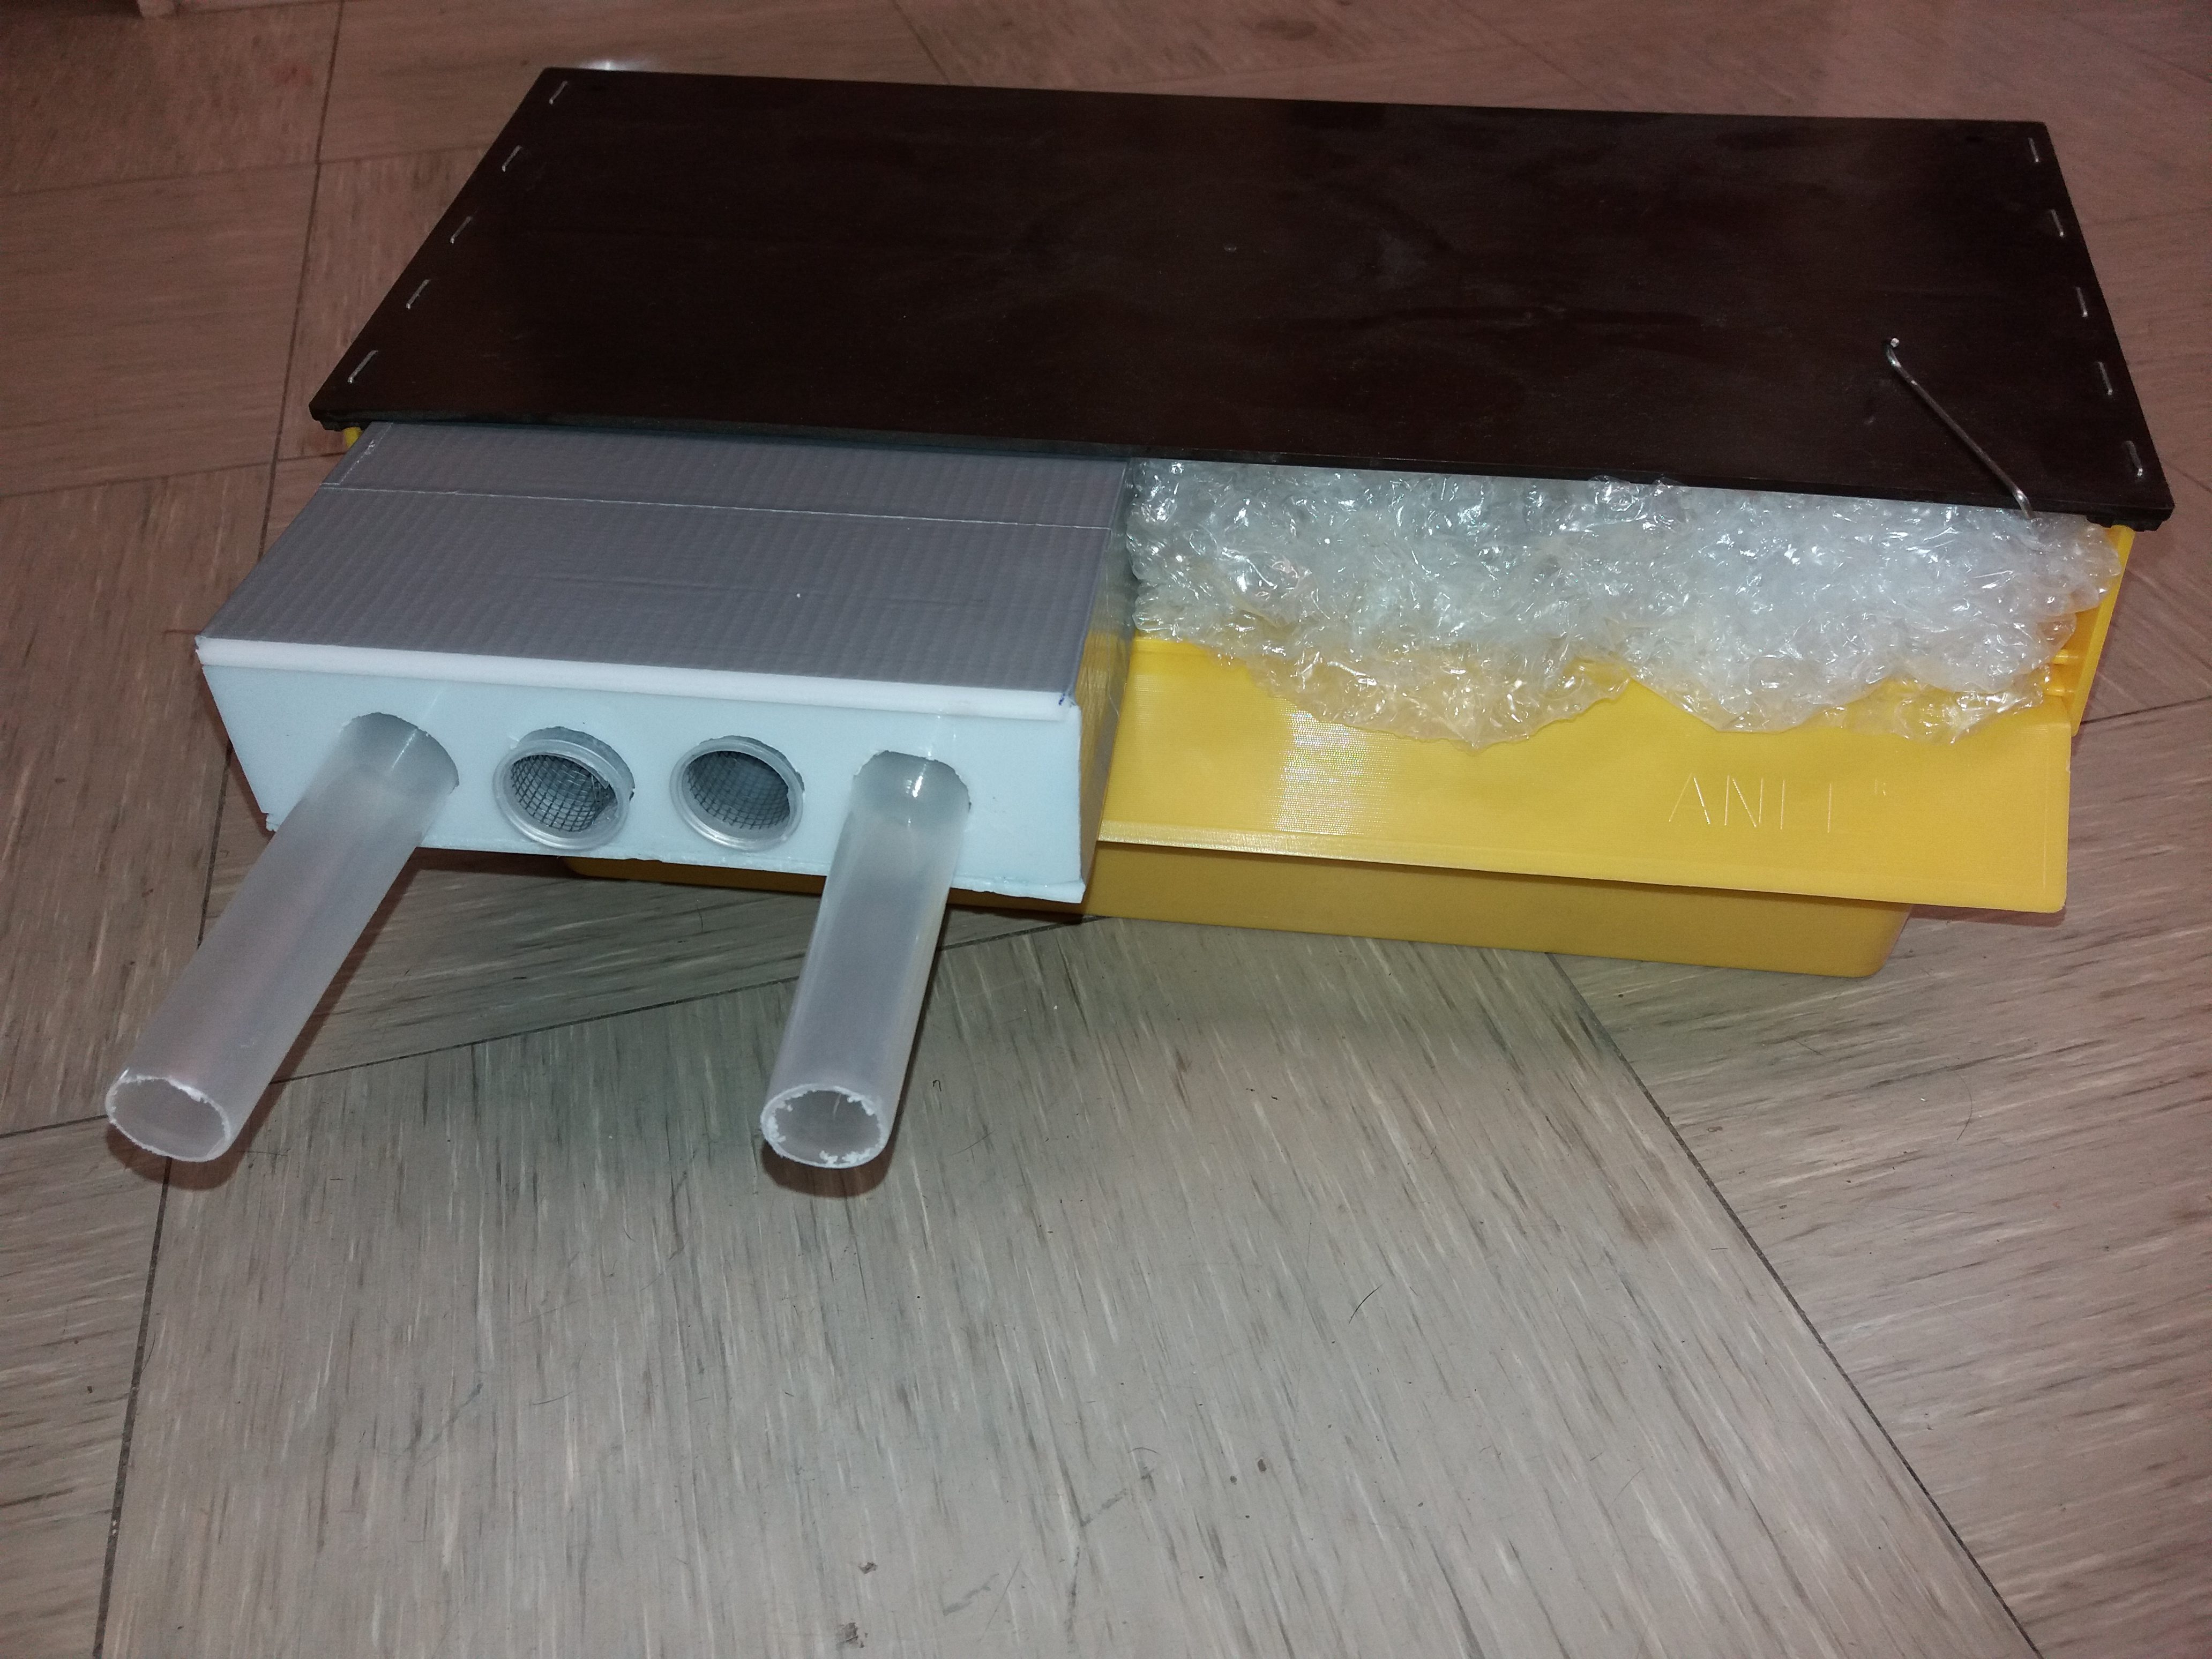
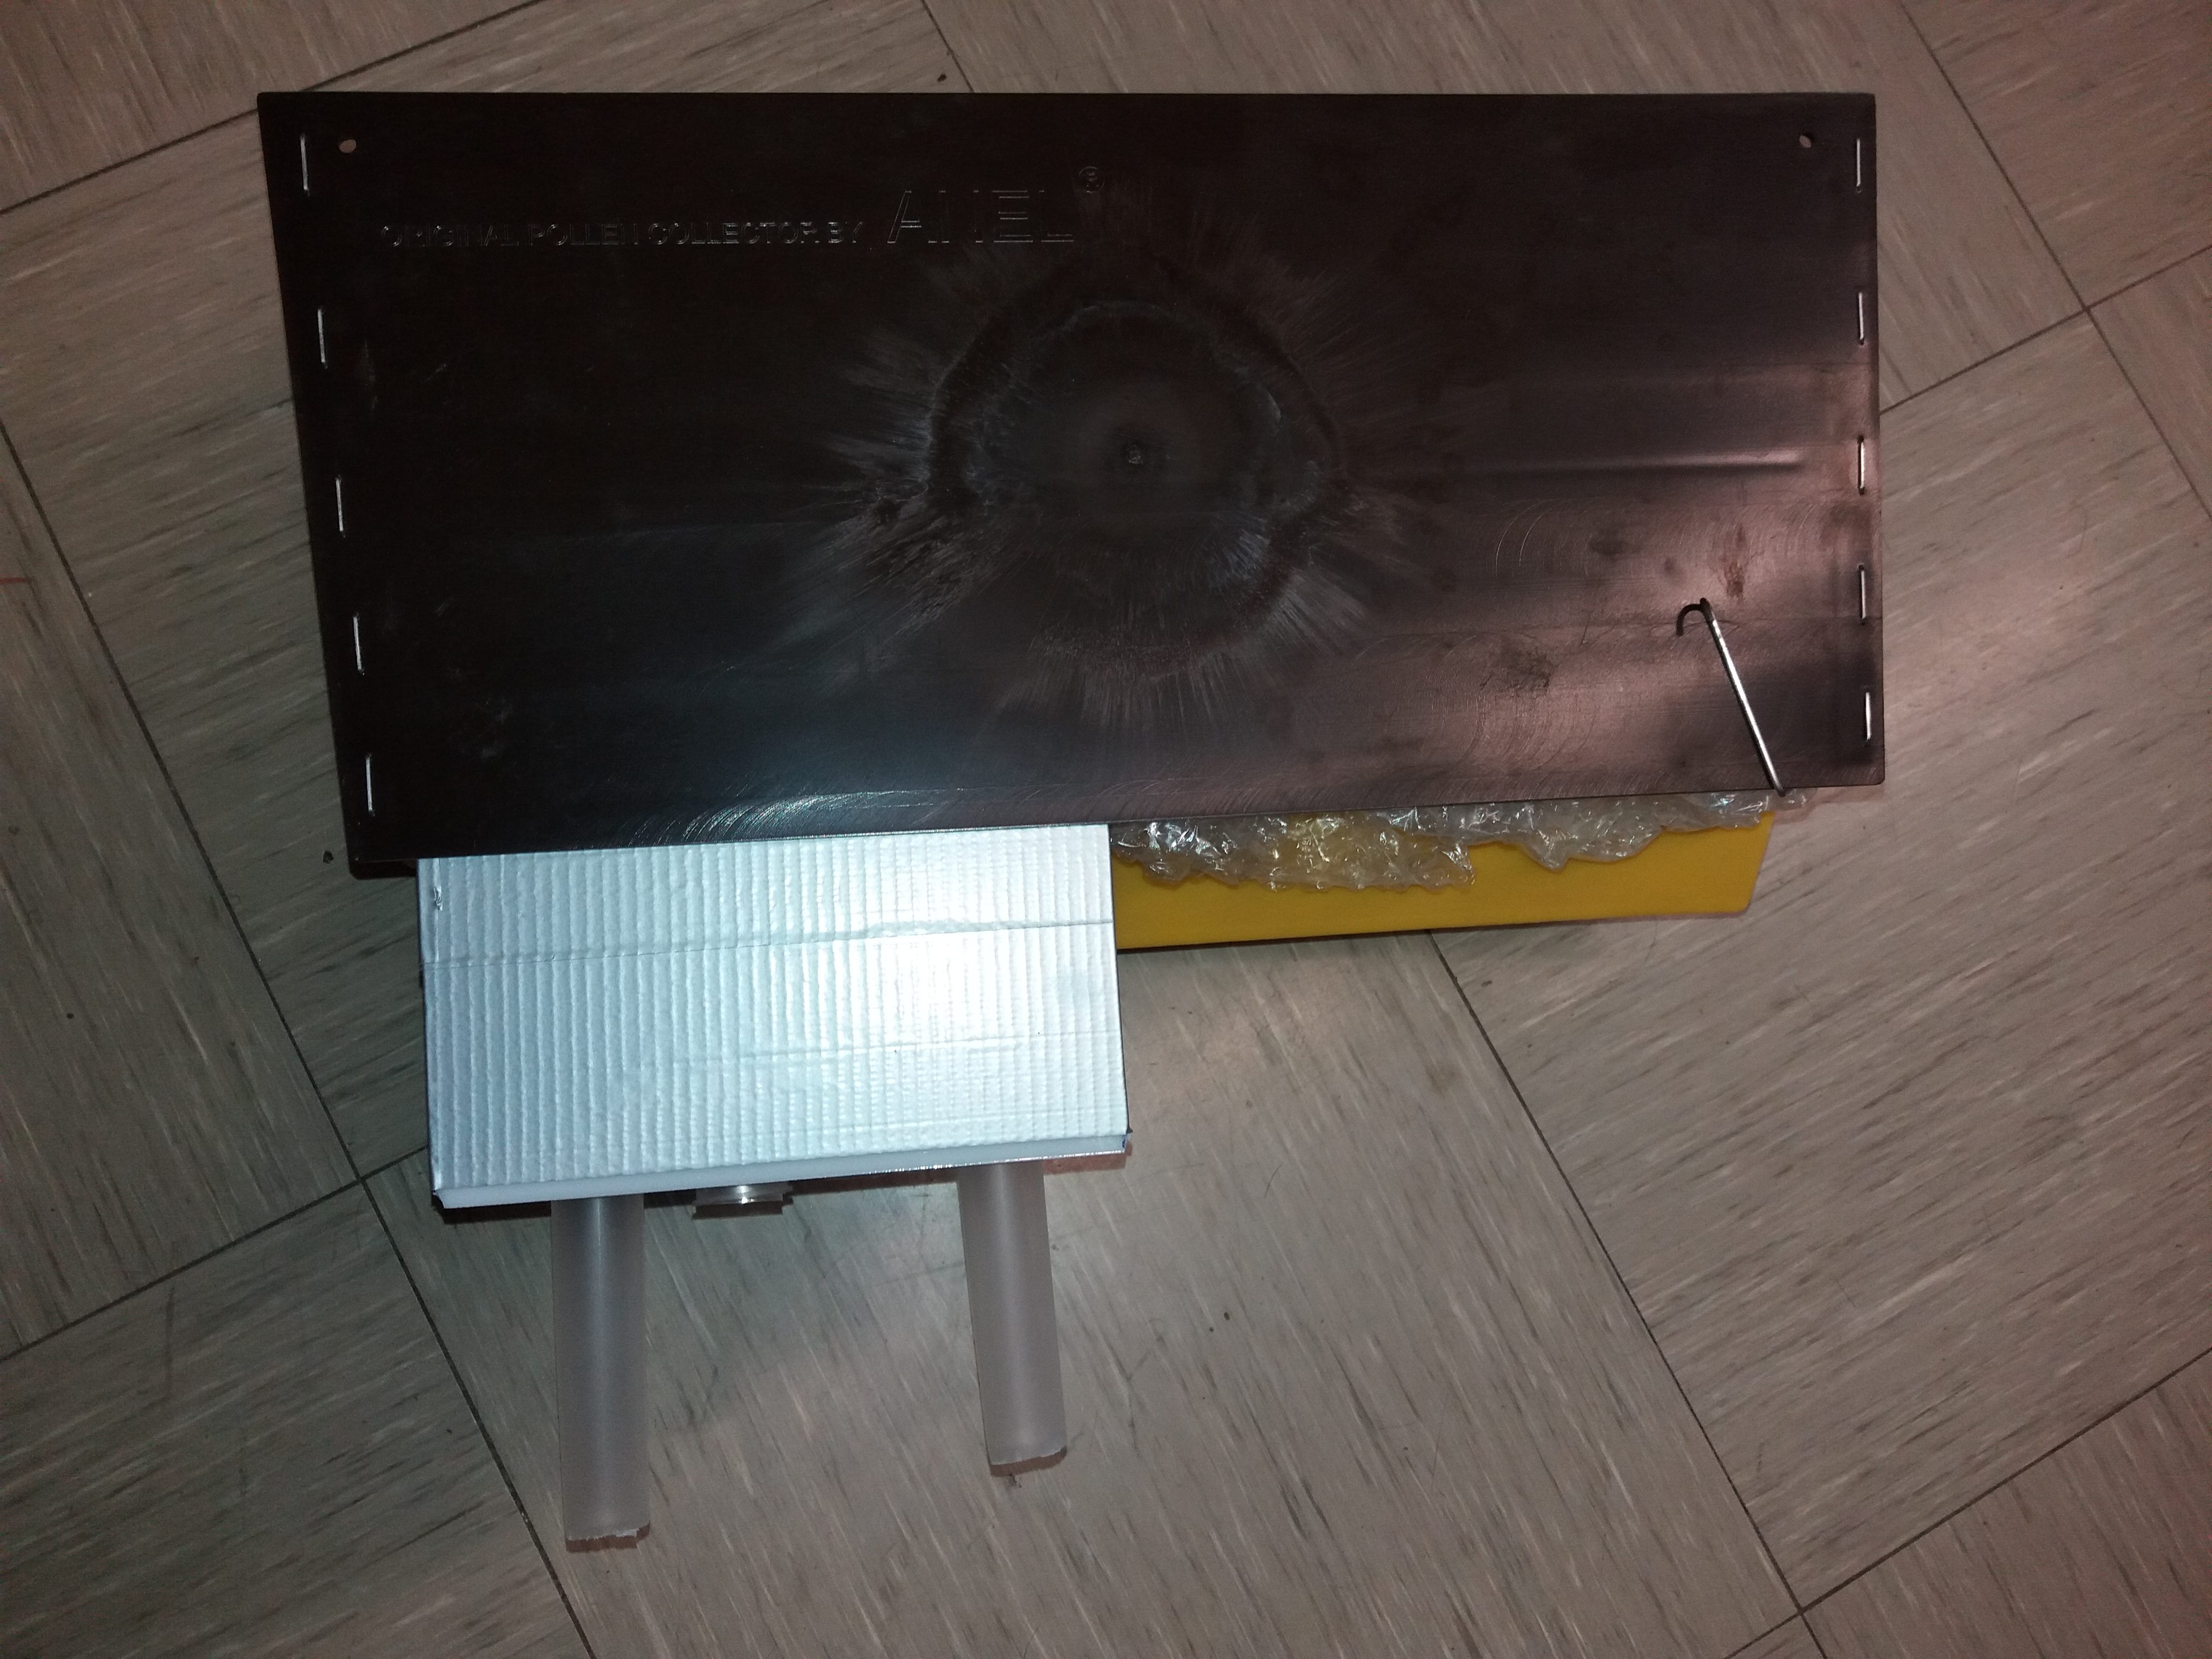
The materials needed for participants are currently packed and shipped before Easter. Good chance to test the beehold tubes and adapter! As you can see, I put some tape around the adaptor to first make it more stable, and second reduce light in the adapter. I decided not to use black tape, as I was afraid of overheating in summer.

This is what is needed for colony 1. Pollen trap should be installed. Then insert tubes in the adaptor – two beehold tubes (insert from outside, this will be the bees entrance) and two exit tubes from inside (these are ordinary plastic tubes without active substances and serve as exit for the bees). Click on image for full size picture!

Then insert the adapter to entrance of pollen trap. This can be done with a closed (=active) or open (=inactive) pollen trap. Remember: Close pollen trap only for one day (morning to evening) and then open the pollen trap again. The adapter needs to be removed for this, but placed again afterwards, as the beehold tubes will collect samples for two weeks! Click on image for full size picture!
It is important to close the remaining entrance area of the pollen trap. You best use styrofoam or so. The plastic wrap I used for this picture is a compromise! Click on image for full size picture!
This is how it looks from above. The two behold tubes serving as entrance for the bees cannot be seen, only the two tubes acting as exit for bees! Click on image for full size picture!
×